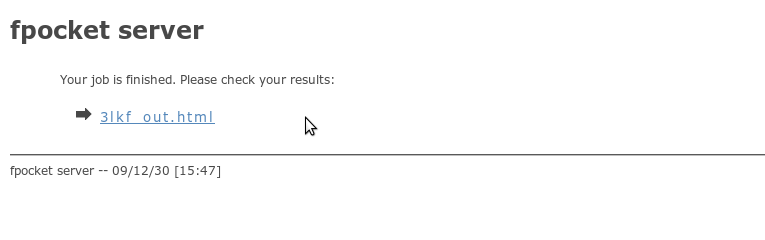
We use the same output page to display results of fpocket
job for both server. Before describing it, we just describe
for both servers, how to reach this page. Don't worry it's
really easy.
Getting to the results page
Default server
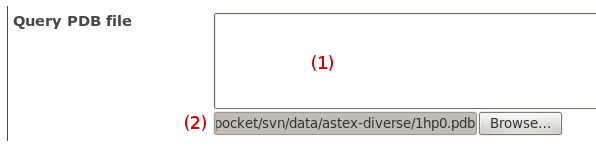
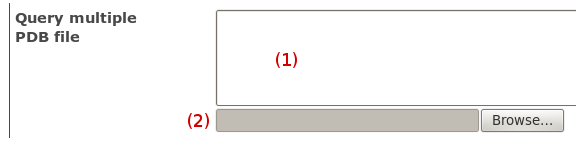
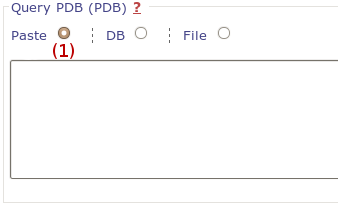
Just follow the input tutorial,
where we describe all intermediates pages from which you
will be able to reach the results final page.
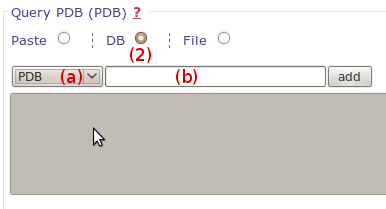
Advanced server (Mobyle)
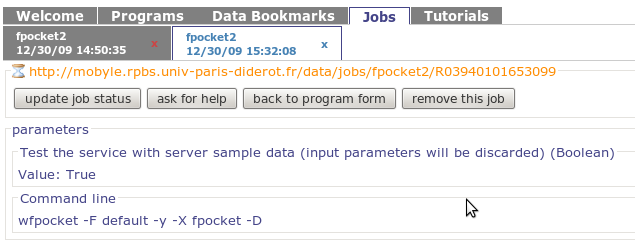
In mobyle, once your job will be finished, you will be
redirected to the mobyle results page. This results page
is shown in the snapshot on the right. You will notice
that it is not yet really clear; the results page is
actually contained in the "Detected pocket alpha spheres
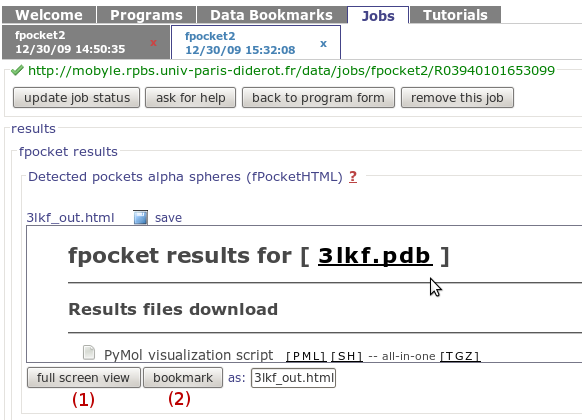
(fPocket HTML)" labeled scroll pane. Anyway, to reach
the results page described in the next section, just click
on the Full screen view button
(1)
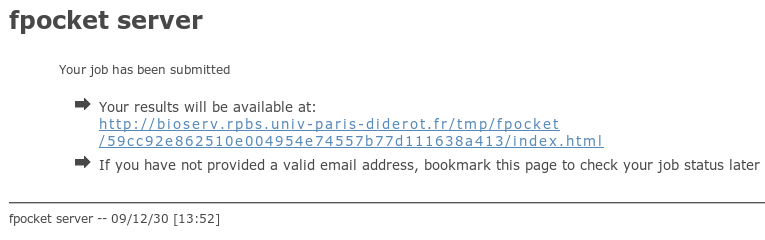
You also have the possibility to bookmark the result page
using the Bookmark button
(2)
(enter the bookmark name in the field on left)
Main program output results are provided both in the final
results page and in the mobyle interface. This redundancy
is comfortable to (i) analyse your results in a specific
and integrated web page and (ii) to directly use the
mobyle pipelining feature for further analysis.
Results page description
The results can be roughly divided in 3 sections:
Output files,
Snapshots and
Visualisation .
Output files
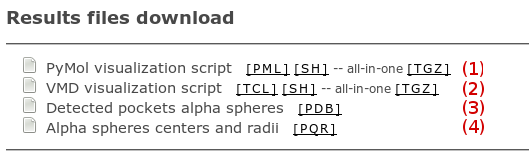
Several fpocket output files are provided and described
bellow. You can download all of them.
-
Pymol visualisation script
(1):
it consists of a pymol visualisation script that allows
you to view fpocket results using pymol. The .pml is
the actual script, and the .sh should be used to run
the script. Note that this script cannot be used without
fpocket output pdb files.
A tar archive is therefore provided that include all
files (pymol script, sh launcher & fpocket output pdb)
-
VMD visualisation script
(2): same as Pymol,
but for VMD.
-
Fpocket main output file
(3), containing the
input PDB and all alpha spheres as dummy carbon
HETATM.
-
Alpha spheres only
(4) representing each
pockets, as a PQR file.
<Back to top>
Snapshots
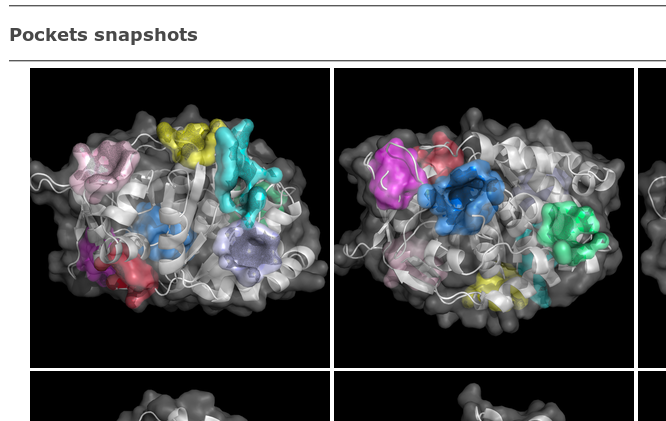
A set of PDB snapshots are provided (generated by Pymol),
showing predicted pockets as surfaces of each pockets atoms.
These snapshots might disappear soon when the openAstex
viewer will be released.
<Back to top>
Visualisation
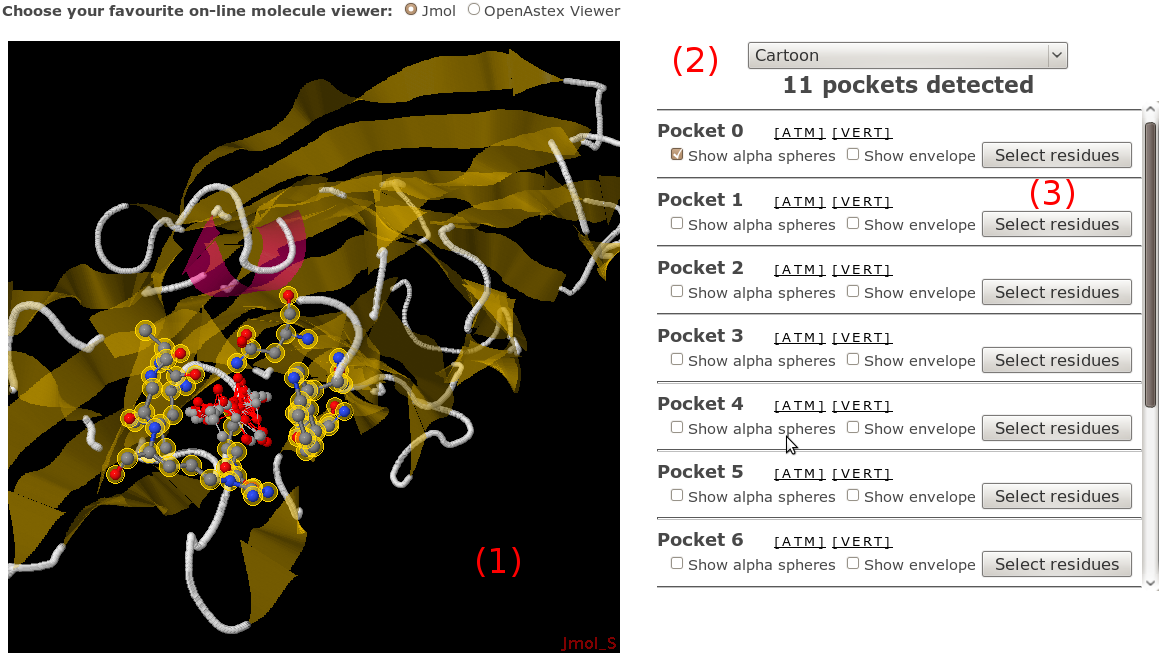
If you don't like VMD or Pymol, or if you just want to have
a quick view of fpocket results without doing anything,
you can use either Jmol or OpenAstex interactive applets
at the bottom of the page. The fpocket output PDB file
automatically loaded in the choosen viewer on the right,
(1), with alpha
spheres shown in CPK mode (gray = apolar alpha spheres,
red = polar alpha spheres, see hint 3 on the right).
On the right, you have a set of graphic components to
facilitate the viewing. A small set of options
(2) allows you to perform
various changes to the whole system representation
(display protein as cartoon, reset view...). We will
progressively add more of these utilities.
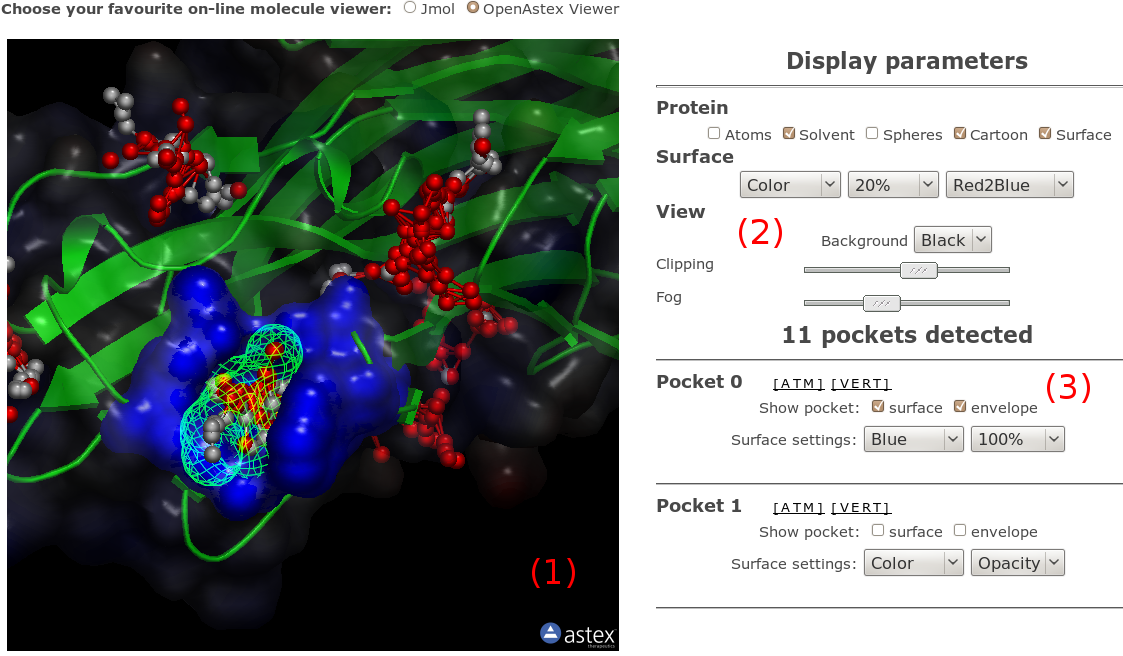
All pockets are listed on the bottom left of the
visualisation part (3)
(positon = rank). You also have various display possibilities
depending on the viewer, and for both of them, you can
dowload the pocket as PDB file (all atoms contacted by
alpha spheres) or PQR file (all alpha spheres).
Remember that for both viewers, you can access the
display popup menu by right clicking on the view.